Latest Posts

The Yonaguni Monument

The Yonaguni Monument is a monolith just off the coast of Yonaguni. Discovered by local diver Kihachiro Aratake in 1987, it appears to have structures that have been carved into the rock. Masaaki Kimura of the University of the Ryukyus studied the underwater topography and came to the conclusion that rather than a natural formation, it is the remains of an ancient civilization that has otherwise been erased from history.

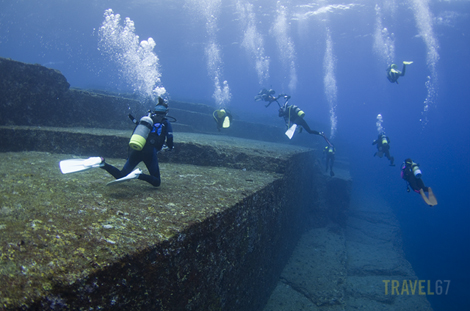
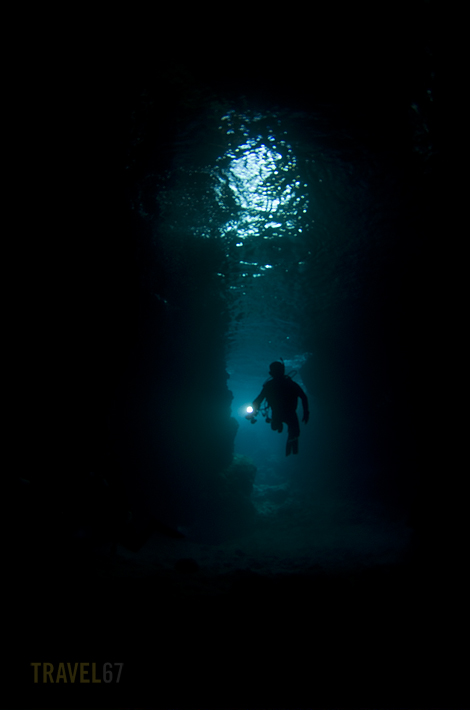
Divers enter through a short tunnel and then find two columns that reach up to near the surface.

Yonaguni Monument  - Couple Stones

Yonaguni Monument - Couple Stones

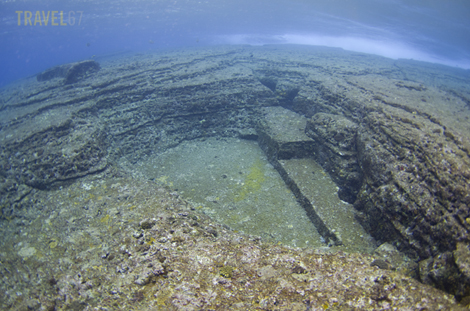
Divers then make their way around the loop road to the lower and upper terrace. The rock has been cut / fractured at right angles, with step like structures between levels.

Yonaguni Monument, Okinawa - Upper Terrace

Yonaguni Monument, Okinawa - Upper Terrace

A triangle shaped pool may have once been the foundations for a building. Holes in the edges of the triangle could have been used to hold the main uprights.

Yonaguni Monument, Okinawa - Triangle Pool

Yonaguni Monument, Okinawa - Triangle Pool

And finally you reach the turtle sculpture. I had been expecting it quite small so I was surprised to find it close to 10 meters across. This was why in the images I wanted to have a diver in the shot (Kihachiro Aratake’s son Shotaro) to show the scale.

Yonaguni Monument, Okinawa - Turtle Sculpture

Yonaguni Monument, Okinawa - Turtle Sculpture

After each dive there is a friendly discussion about whether the ruins are natural or manmade. My opinion is that they’re natural, but many others were sure that we were looking at some version of Atlantis created thousand of years ago by a lost civilization, or even aliens.

Light Painting Workshop May 4th and 5th

Light Painting Workshop with Trevor Williams

Light Painting Workshop with Trevor Williams

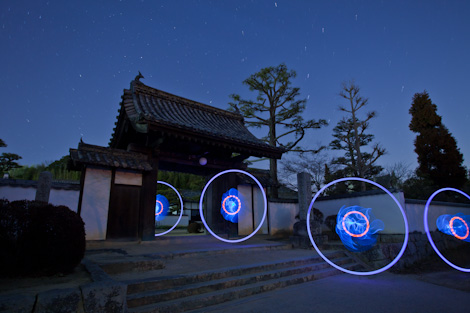
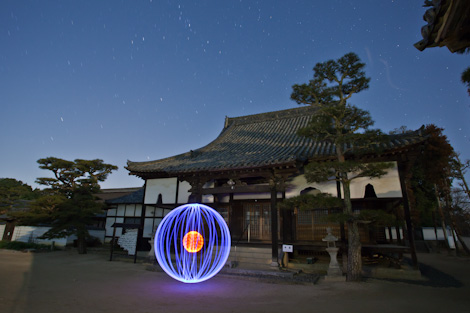
Another quick announcement. On May 4th and 5th Trevor Williams is returning to Okinawa to teach a 2- day Light Painting Workshop.

Come join me for two nights of fun and photography. I would like to introduce the magic of light painting and night photography. The first night we will be covering long exposure and night photography essentials. Learn how to make an image rather than take an image. Use time and light to build up your picture from a black canvas in to exactly what you envisioned.

You’ll then be prepared for the second night which will focus on light painting and other creative techniques. I will reveal some of my secrets and show you step by step how to create amazing light paintings. You’ll also learn how to make custom tools and use them creatively.

Light painting and night photography has a certain magic about it. When the shutter closes you will find your self running back to the camera to see what you have captured. Friends and family will be stunned by the images you’ve been able to create. After the weekend you’ll have the knowledge and skills to go out and start painting Okinawa with light.

Trevor Williams

Class is from 4PM to 10PM on both days. Course fee is US$150. The workshop will take place at my home / studio in Ishikawa and in the Uruma City / Yomitan area. I will start taking bookings for places in March.

Light Painting Workshop with Trevor Williams

Going Retro Mini Workshop

Going Retro Mini Workshop with Trevor Williams

Just a quick announcement so people can put the date in the diary. Trevor Williams will be holding a “Going Retro” mini workshop on May 3rd 2012. Trevor will take people through the process of creating the look, setting up lighting, image selection and then editing.

Time is 6PM to 10PM. Location is my home / studio in Uruma City, Okinawa. Class fee is US$50. I will start taking bookings for places in March.

Going Retro Mini Workshop with Trevor Williams

Going Retro Mini Workshop with Trevor Williams

Test Dive #2 Kadena Steps

Shawn Miller plays with his lego

Shawn Miller plays with his lego

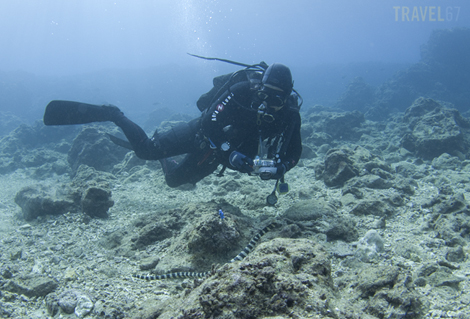
A second test dive with the underwater camera housing at Kadena Steps. Shawn “Shellman” Miller performed the role of dive buddy, model,gear checker, and snake charmer.

Shawn and the Sea Snake

Shawn and the Sea Snake

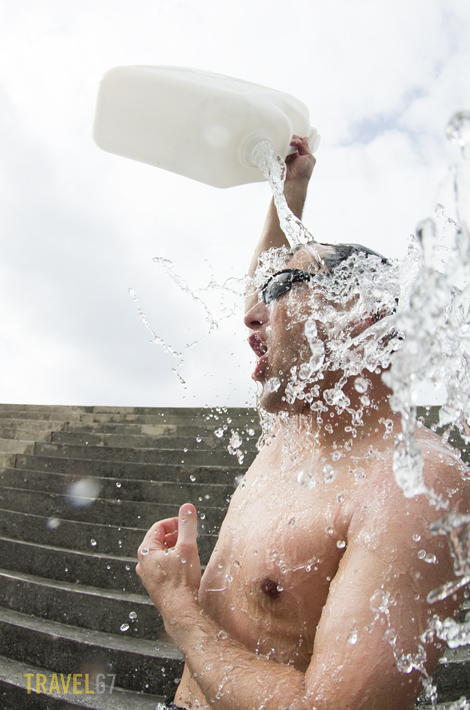
Luxurious shower facilities are available at all dive locations 😉

Roadside shower facilities.

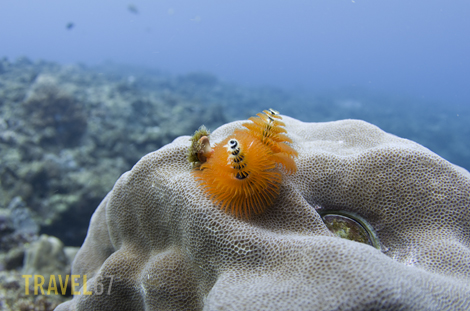
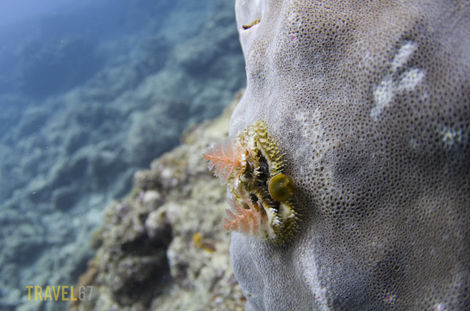
Christmas Tree Worms- Spirobranchus giganteus

Christmas Tree Worms at Kadena Steps, Okinawa

Christmas Tree Worms at Kadena Steps, Okinawa

Spirobranchus giganteus, commonly known as Christmas tree worms, are small, tube-building polychaete worms belonging to the family Serpulidae (Wikipedia). Each worm has two Christmas tree like structures that are used for both feeding and respiration. If you move too close to the worm they rapidly retract back into the coral. (In the movie Avatar some of the plants on the alien world behaved in a similar fashion.)

Christmas Tree Worms at Kadena Steps, Okinawa

Christmas Tree Worms at Kadena Steps, Okinawa

These were shot with the K5 and the fisheye lens. The lens isn’t designed for macro work, but you can still get some interesting wide-angle close-up images.

Christmas Tree Worms at Kadena Steps, Okinawa

Christmas Tree Worms at Kadena Steps, Okinawa

Cherry Blossom at Nakijin Castle

Nakijin Castle

Cherry Blossom Light Up Nakijin Castle

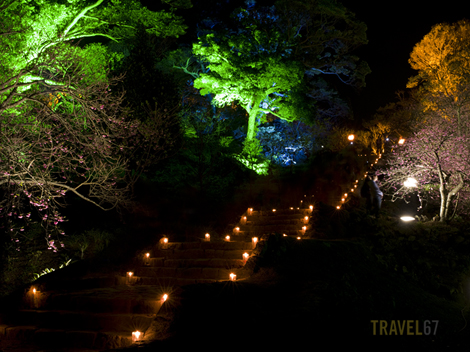
Cherry blossoms are out in Okinawa. At Nakijin Castle, a UNESCO World Heritage Site, cherry blossoms and surrounding trees are illuminated for a few nights in early February.

It’s called the Cherry Blossom Festival, but due to the lighting, it appears to be celebrating giant broccoli.

Cherry Blossom Light Up Nakijin Castle

Cherry Blossom Light Up at Nakijin Castle

Ikelite K5 Housing – Open Water Test

Dive Buddy Shawn Miller

Dive Buddy Shawn Miller

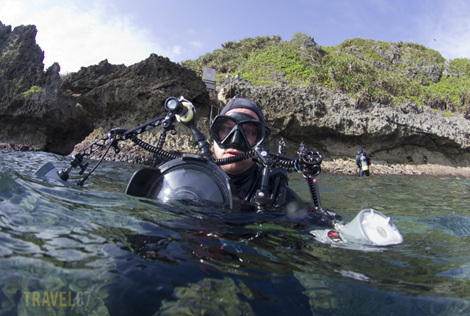
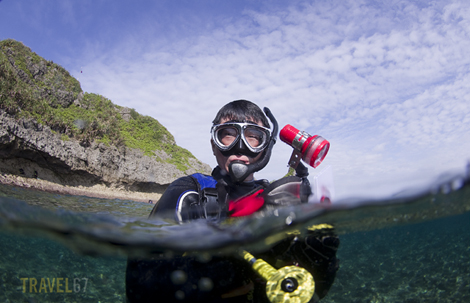
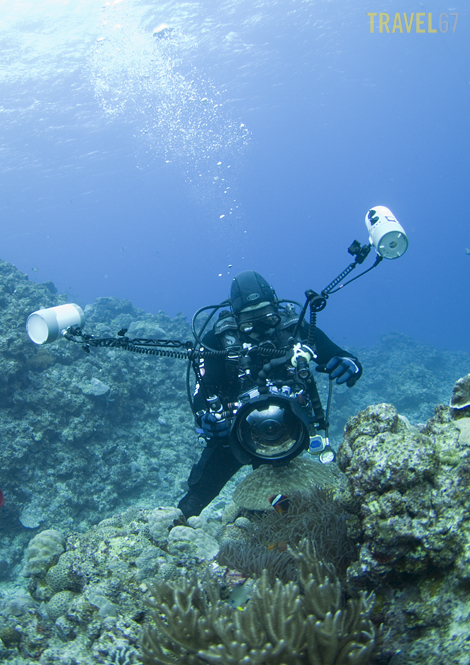
Tested out the underwater housing for the K5 at Cape Maeda this morning. Hiroshi and Shawn were my buddies for the dive. As more experienced underwater shooters, they could make sure that I’d sealed everything down properly.

Dive Buddy Hiroshi Tsuji

Dive Buddy Hiroshi Tsuji

So what did I learn?

The housing didn’t leak and you can operate all buttons while underwater.

There also appears to be a button (labeled Fn Button in the manual) that allows you to press the lens release button. I may contact Ikelite to see if I’m just being dimwitted or if this is some design issue. (I didn’t try to use this while underwater.)

Operating functions that require doing two things at the same time are tricky e.g. pressing the ISO button and turning the rear e-dial. This means using exposure compensation underwater will be more problematic than simply using manual mode and adjusting exposure with the e-dials.

The controller for the “Green Button” can easily get stuck. Probably not an issue as I don’t use the Green Button normally, but strange nonetheless.

Live View is useful as it can make composition much easier when you can’t see through the  viewfinder.

When underwater the autofocus gets it right more often than I do.

Shawn Miller - Finding Nemo

Shawn Miller - Finding Nemo

A few more things about underwater photography:

You get colder than on a regular dive as you’re not swimming as much. After 45 minutes I was feeling decidedly chilly.

You need to be completely comfortable with your camera. Underwater in the dark is not the right time to start learning which button does what.

You need to be completely comfortable diving. This makes for better photography, but is more important for personal safety. Things like buoyancy control and checking gauges should be second nature before adding a camera, particularly a large cumbersome one. If you have an emergency, you don’t want to be fumbling around for your regulator only to find it tangled up in all your flash cables and straps.

Hiroshi Tsuji - The Abyss

Hiroshi Tsuji - The Abyss

All in all, a good dive. Hope to get in a couple more before heading down to Yonaguni.

Yongnuo YN560 Speedlite Review

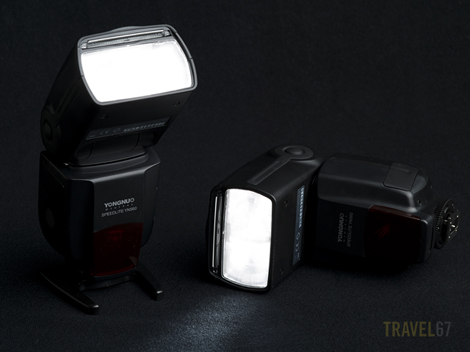
Yongnuo YN560 Flash

Yongnuo YN560 Flash

Is buying a cheap alternative brand hot-shoe flash a great way to save hundreds of dollars or are you just wasting your money?

Let’s start with the key difference.

Cost

Nikon SB910 $538.81

Canon 580EX II $457.00

Pentax AF540FGZ $399.00

Yongnuo YN560 $67.40

So what are the similarities?

Power: The Yongnuo Flash has a guide number of 58. This means the camera has a similar maximum power to the other top end flashes listed above. (Guide Number indicates the power of the flash.  GN = max distance to subject x f-stop at ISO 100 – e.g. if GN is 58,  max distance to subject is 29 meters when aperture is  f/2 and ISO is 100.)

Manual Control: All four flashes allow you to manually control both the level of power and the zoom on the flash.

Slave Modes: All four flashes allow you to slave the flash so it fires when it detects the light from another flash.

Bounce: All four flashes allow you to both tilt and rotate the flash head to bounce the flash off the ceiling or walls

PC Sockets: Three flashes (not the Pentax) have a PC socket – particularly useful when using Pocket Wizards for manual off-camera flash.

Differences other than cost. The Yongnuo YN560 doesn’t have the following:

TTL Flash Metering (Auto Power Control): The cheap Yongnuo is all manual. You need to adjust the power rather than the camera sending out a pre-flash, measuring the amount of light that has returned and giving out a main flash that will give you what it assumes to be the correct amount of light.

Flash Compensation Control: The ability to increase and decrease the power of the flash when in TTL mode. (Similar to exposure compensation  when using in-camera metering)

Auto Zoom Control: The camera can tell the flash the focal length of the lens being used and therefore the angle of view. The flash automatically adjusts its zoom so that the spread of the light matches the angle of view.

High Speed Sync: High speed sync allows you to use flash at shutter speeds greater than the flash sync speed of the camera, useful when you want to shoot outdoors with a wide aperture.

Infrared Wireless Communication: The ability to communicate with off camera flashes using an on camera (or pop-up) flash. This allows you to use TTL flash metering when using off camera flash.

LED Display: A clear display on the back of the flash that shows mode, power settings, zoom settings.The Yongnuo displays all the information through a series of LED lights on the back of the camera. The row of orange lights is used to  indicate both zoom and power which can lead to confusion.

Build Quality and Reliability: The first time I used one of the YN560s it gave off a strange burning smell. I thought I’d fried it, but it has continued to work without any strange smells or problems since then. I doubt it has the same degree of weather sealing or ruggedness as the other flash units, but I’m not planning on a series of drop tests.
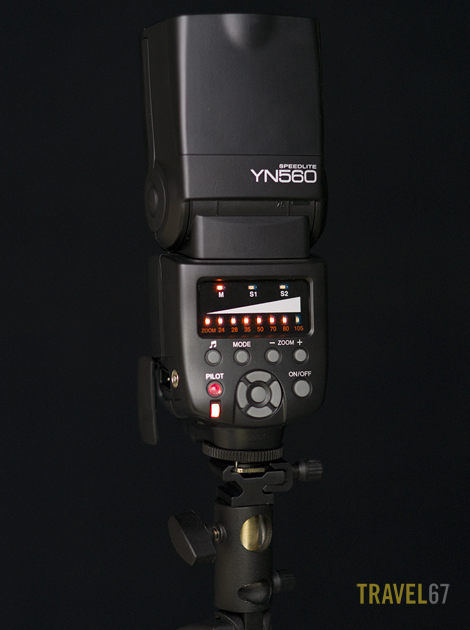
Yongnuo Speedlight

Yongnuo Speedlight ( lacks LED display on back, but has a PC connection on side )

In summary, the more expensive flashes can do everything the cheap flashes can do plus various bells and whistles. The ability to use TTL metering is useful in some circumstances, but once you are using multiple flashes and radio triggers it is less useful or not even usable. The advanced infrared communication systems also have their place, but are less effective than radio triggers when using manual mode.

If you’re buying a single flash, have the money, and want the flexibility to shoot with TTL then get the matching flash from your camera’s manufacturer. If, however, you’re experimenting with off-camera flash and looking at getting a second or third flash then you could happily save yourself several hundred dollars by getting a couple of Yongnuo YN560s.